If you’re looking for an easy banana pudding recipe that brings back those comforting memories of homemade desserts, you’ve come to the right place. This classic dessert is creamy, delicious, and incredibly easy to make. With simple ingredients and a straightforward process, this recipe will make your taste buds sing while also saving you time in the kitchen. Plus, we’ll share some tips and tricks for making the best banana pudding possible.
Banana pudding is a beloved classic that fits perfectly in any event—from family gatherings to summer picnics. But what if you want a recipe that doesn’t take hours to prepare? This easy banana pudding recipe will help you create a rich, velvety pudding that tastes like you’ve been in the kitchen all day. Let’s dive right in!
Why You’ll Love This Easy Banana Pudding Recipe
- Quick and Simple: No complicated techniques or hard-to-find ingredients.
- Rich and Creamy: The perfect balance of banana flavor, vanilla pudding, and crunchy wafers.
- Perfect for Any Occasion: Serve it chilled for a summer treat, or add some whipped cream for a festive holiday dessert.
Ingredients You’ll Need
To make this easy banana pudding recipe, gather the following ingredients:
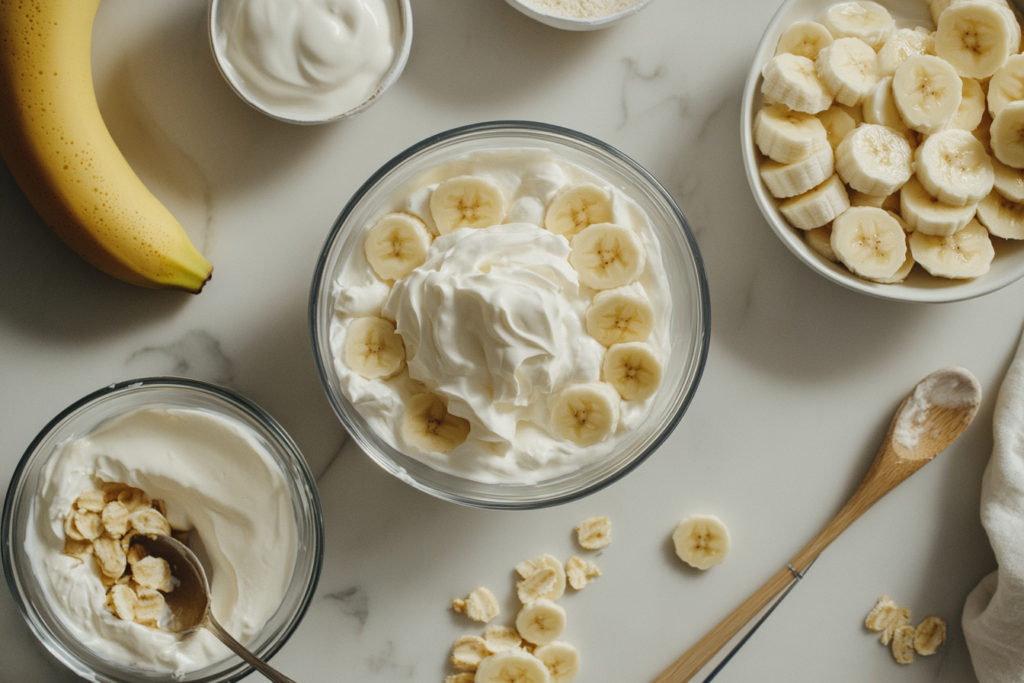
- 3-4 ripe bananas, sliced
- 1 package of vanilla instant pudding mix (5.1 ounces)
- 3 cups cold milk
- 1 can of sweetened condensed milk (14 ounces)
- 1 teaspoon vanilla extract
- 2 cups heavy whipping cream
- 1 box vanilla wafers (about 12 ounces)
If you’re wondering how these ingredients come together to form a decadent dessert, we’ll guide you through the process, step-by-step.
Step-by-Step Instructions
1: Prepare the Pudding Mixture
- Combine Instant Pudding and Milk: In a large mixing bowl, combine the vanilla instant pudding mix with 3 cups of cold milk. Use a hand mixer or whisk to mix for about 2 minutes, or until the pudding has thickened.
- Add Sweetened Condensed Milk: Pour in the sweetened condensed milk and continue mixing until well combined.
- Add Vanilla Extract: Stir in the vanilla extract to enhance the flavor of the pudding.
2: Whip the Heavy Cream
- In a separate bowl, use an electric mixer to beat the heavy cream until stiff peaks form. This step will give the pudding a rich, airy texture.
- Gently fold the whipped cream into the pudding mixture until smooth and fully incorporated. This will create the perfect creamy consistency.
3: Layer the Pudding
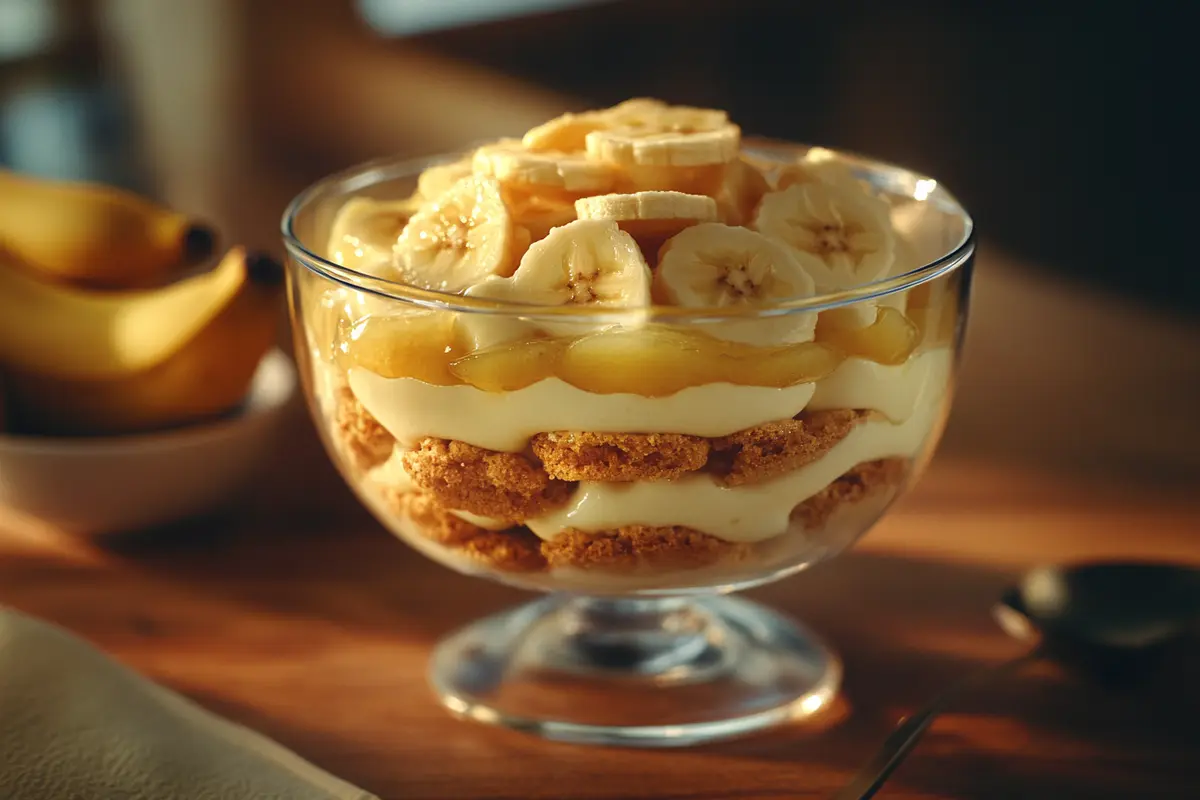
- Start with Vanilla Wafers: In a 9×13-inch baking dish, place a layer of vanilla wafers at the bottom.
- Add Bananas: On top of the wafers, add a layer of sliced bananas.
- Add Pudding Mixture: Spread half of the pudding mixture evenly over the wafers and bananas.
- Repeat Layers: Add another layer of wafers, bananas, and the remaining pudding mixture.
4: Chill and Serve
- Cover the baking dish with plastic wrap and chill in the refrigerator for at least 4 hours (or overnight for the best flavor).
- When ready to serve, add extra whipped cream on top, along with some crushed vanilla wafers for a garnish that adds a delightful crunch.
Tips for Making the Best Banana Pudding
- Use Ripe Bananas: For the best flavor, choose bananas that are just ripe—yellow with a few brown spots.
- Prevent Browning: To keep bananas from turning brown, try dipping them in a bit of lemon juice before adding them to the pudding.
- Choose the Right Wafers: Traditional vanilla wafers are the classic choice, but you could also experiment with other types of cookies like shortbread.

Variations
- Nilla Wafers Alternative: If you’re not a fan of vanilla wafers, try using graham crackers or shortbread cookies.
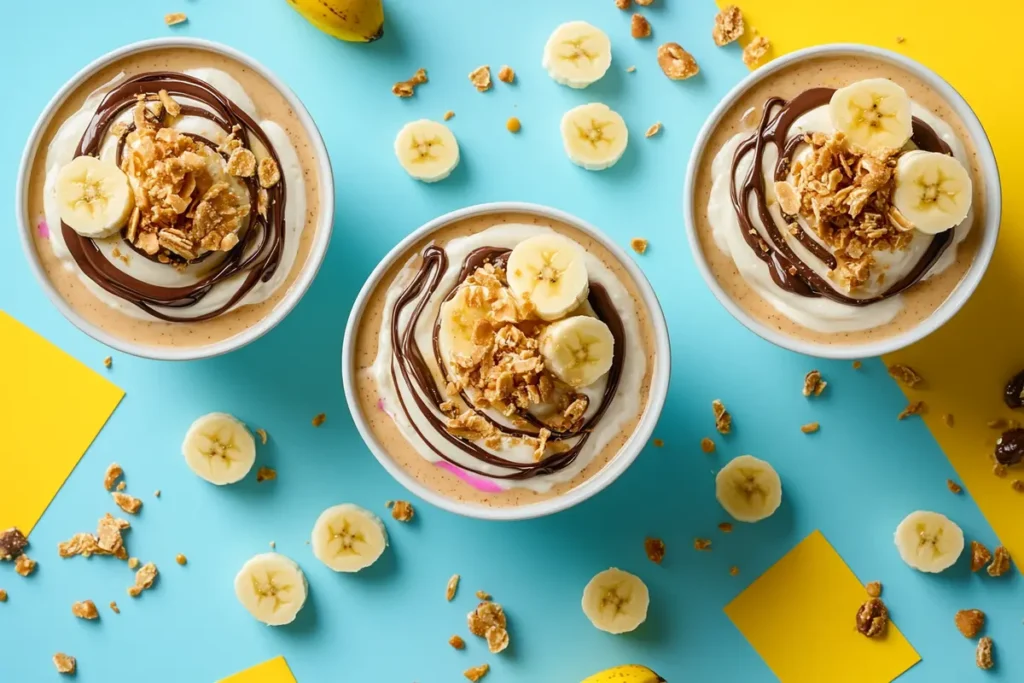
- Chocolate Twist: Add a layer of melted chocolate or chocolate chips for a different spin.
- Dairy-Free Version: Substitute almond milk for regular milk and coconut cream for heavy cream to make it dairy-free.
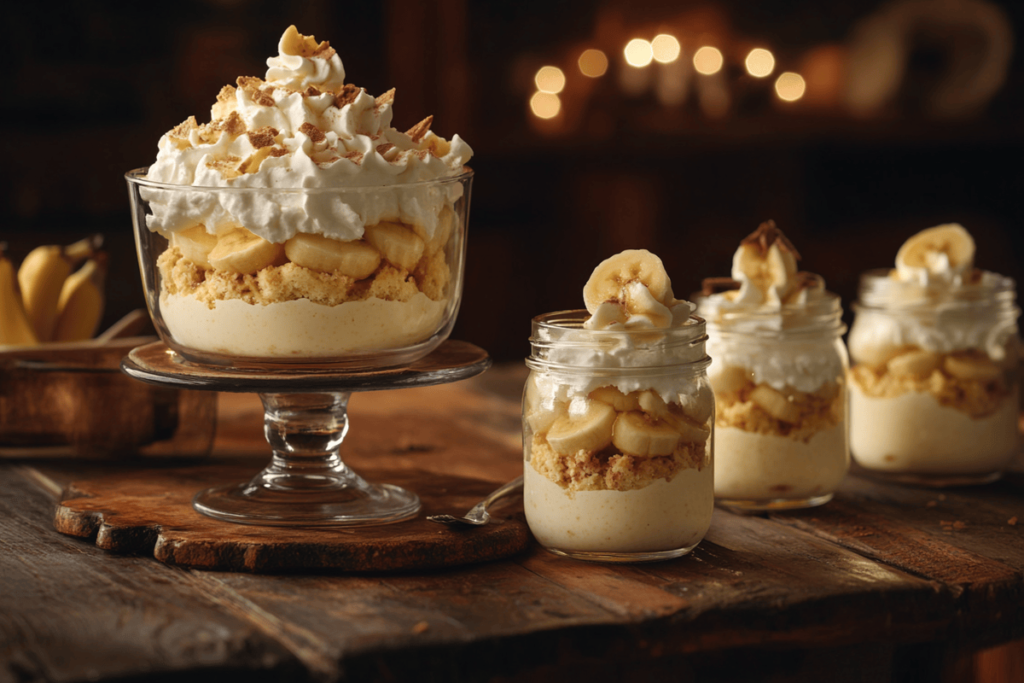
- Banana Pudding Parfaits: Make individual servings by layering the pudding mixture, bananas, and wafers in small mason jars for a cute presentation.
- Peanut Butter Banana Pudding: Add a few tablespoons of creamy peanut butter to the pudding mixture for a tasty peanut butter twist.
- Butterscotch Banana Pudding: Swap the vanilla pudding mix for butterscotch pudding mix to add a rich, caramel-like flavor.
- Rum-Infused Banana Pudding: For an adult version, add a tablespoon of dark rum to the pudding mixture for a subtle depth of flavor.

Common Mistakes to Avoid
- Over-Ripening Bananas: Using overly ripe bananas can make your pudding soggy. Aim for bananas that are perfectly yellow.
- Skipping Chill Time: Chilling is crucial for allowing the flavors to meld together, so don’t skip it.
- Overmixing the Whipped Cream: Be gentle when folding the whipped cream into the pudding mixture. Overmixing can deflate the cream and result in a denser pudding.
- Not Letting the Pudding Set: Give the pudding enough time to set properly. This is essential to achieve the right consistency.
Healthier Alternatives
If you’re looking to make this easy banana pudding recipe a bit healthier, here are some modifications that won’t compromise the flavor:
- Low-Fat Milk: Replace whole milk with low-fat or skim milk.
- Reduced Sugar: Use sugar-free instant pudding mix and reduce the amount of sweetened condensed milk by half.
- Greek Yogurt: Substitute half of the whipped cream with Greek yogurt for a boost of protein and a bit of tanginess.
- Banana Chips: Instead of using vanilla wafers, add banana chips for a healthier crunch.
- Coconut Sugar: Use coconut sugar in place of regular sugar for a lower glycemic index and a caramel-like flavor.
- Chia Seeds: Add a tablespoon of chia seeds to the pudding mixture for extra fiber and nutrients.
These alternatives will keep your banana pudding tasting delicious while making it a bit lighter on the calories and sugar.
The History
Banana pudding is an iconic dessert in American cuisine, especially in the Southern United States. Its origins can be traced back to the 19th century when bananas became widely available in the country. Initially, banana pudding was made similar to traditional English trifles, involving layers of custard, sponge cake, and fruit. The inclusion of vanilla wafers, which is a modern twist, didn’t come about until the early 20th century when the Nabisco company popularized the use of their wafers in banana pudding recipes.
Over the years, banana pudding has become a staple at potlucks, family gatherings, and holidays. Its adaptability and the use of readily available ingredients have cemented it as a go-to comfort food dessert for generations. Today, the easy banana pudding recipe we know and love continues to evolve, allowing home cooks to create variations that suit their tastes and dietary needs.
Fun Facts About Banana Pudding
- National Banana Pudding Day: Did you know that National Banana Pudding Day is celebrated on August 29th? It’s the perfect excuse to indulge in this creamy dessert.
- Southern Tradition: Banana pudding is often considered a Southern tradition and is commonly found at church gatherings, family reunions, and BBQs across the South.
- Banana Shortage: During the early 1900s, there was a banana shortage, which made banana pudding a luxury dessert for special occasions.
- Versatile Layers: Some variations of banana pudding involve using ladyfingers or sponge cake instead of wafers, highlighting its adaptability over the years.
Serving Ideas for Banana Pudding
- Banana Pudding Trifle: Serve the banana pudding in a large trifle dish for a stunning visual presentation. Layer the pudding, bananas, and wafers neatly, and top it with whipped cream and a sprinkle of crushed wafers.
- Individual Mason Jars: Layer the pudding in mason jars to create individual servings. This is perfect for parties or picnics, making it easy for guests to enjoy without the mess of serving from a larger dish.
- With Caramel Drizzle: Add a drizzle of caramel sauce on top of each serving to enhance the flavors. The caramel complements the banana and vanilla perfectly.
- Topped with Fresh Berries: For a fresh and fruity twist, add blueberries, strawberries, or raspberries on top of the banana pudding. The berries add a nice tartness that balances the sweetness of the pudding.
- Frozen Banana Pudding Bars: Freeze the banana pudding mixture in a square dish, then cut into bars for a fun, cool summer treat.

Creative Toppings for Banana Pudding
- Toasted Coconut: Sprinkle toasted coconut flakes on top of the pudding for a tropical twist.
- Crushed Pretzels: For a salty-sweet combination, add crushed pretzels on top to provide a satisfying crunch.
- Candied Pecans: Add a handful of candied pecans to give your banana pudding a nutty, caramelized flavor.
- Mini Marshmallows: Scatter mini marshmallows over the top before serving for an extra dose of sweetness.
- White Chocolate Shavings: Add white chocolate shavings to the top for a touch of elegance and extra sweetness.
- Cinnamon Sugar: Lightly dust the top with cinnamon sugar for a hint of spice that complements the bananas.
These creative toppings not only add flavor but also make your banana pudding visually appealing, especially when serving guests.
Frequently Asked Questions
How Is Pudding Made From Scratch Easy?
Making pudding from scratch can be quite easy when you use instant pudding mix and add your own fresh ingredients. By following simple steps like combining milk, pudding mix, and whipped cream, you get an incredible dessert with minimal effort. To make pudding entirely from scratch, you would cook ingredients like eggs, sugar, and cornstarch on the stove—but using instant pudding saves time and effort without compromising on flavor.
How Do You Keep Bananas From Rotting in Banana Pudding?
Bananas can brown and rot quickly, especially when exposed to air. To prevent this, you can dip your sliced bananas in lemon or pineapple juice. The acidity helps slow the oxidation process that causes browning. Additionally, covering the pudding well with plastic wrap can keep air exposure minimal, preserving the bananas’ freshness.
What Can You Use in Banana Pudding Instead of Wafers?
If you’re looking for an alternative to vanilla wafers, there are many options to choose from. Some popular substitutions include:
- Graham Crackers: They add a different kind of crunch and slightly different flavor profile.
- Shortbread Cookies: For a richer, buttery flavor.
- Digestive Biscuits: If you’re in the mood for something a bit heartier.
- Biscoff Cookies: These spiced cookies add a unique flavor twist to your banana pudding.
Can I Use Sweetened Condensed Milk Instead of Milk for Pudding?
You can use sweetened condensed milk to enhance the richness of your pudding, but it’s not a direct substitute for regular milk. In this recipe, we use both milk and sweetened condensed milk to balance the flavors and ensure the pudding isn’t overly sweet or too thick.
Can I Make Banana Pudding in Advance?
Yes, banana pudding is an excellent make-ahead dessert. In fact, it tastes even better when it’s had time to chill and the flavors meld together. You can make it up to 24 hours in advance. Just be sure to cover it well and store it in the refrigerator.
Can I Freeze Banana Pudding?
Freezing banana pudding is possible, but it will change the texture of both the bananas and the pudding. If you choose to freeze it, be prepared for a slightly grainier texture once it thaws. Alternatively, you could freeze the pudding mixture without the bananas and wafers, then add fresh bananas and wafers when serving.
Serving and Storing Tips
- Serving Suggestions: Banana pudding tastes best when served chilled. Garnish it with whipped cream and crushed wafers just before serving for an extra touch.
- Storage: Store the pudding in the refrigerator, covered, for up to 3 days. Keep in mind that the bananas may start to brown after the first day, but the flavor will still be delicious.
- Avoiding Soggy Wafers: To avoid soggy wafers, serve immediately after chilling or add the wafers just before serving.
For other amazing desserts, check out our no-bake cheesecake recipe, and easy peach cobbler. These desserts are simple to prepare and pair well with our easy banana pudding recipe.
Conclusion
This easy banana pudding recipe is an ideal dessert for anyone craving a sweet, comforting treat that doesn’t require hours in the kitchen. With its creamy layers of pudding, ripe bananas, and crunchy wafers, it’s a crowd-pleaser that’s perfect for all occasions. Remember to use ripe bananas, chill the pudding for the best flavor, and get creative with your layers if you feel like trying a twist on the classic.
Ready to impress your friends and family? Grab these simple ingredients and start layering up your delicious easy banana pudding recipe today!

